Though we love the dimension and beauty that stairs can add to any home, they’re a common area for falls and injuries. Luckily, a little extra lighting can prevent some of those stumbles by increasing visibility and security. Every home is different, so we’ve broken it down into categories that apply to everyone.
1. Material

Are your steps made of wood, carpet, tile, or something else? Carpeted stairs are comfortable, but they absorb a lot of light. Use fixtures with a high light output to achieve maximum results.
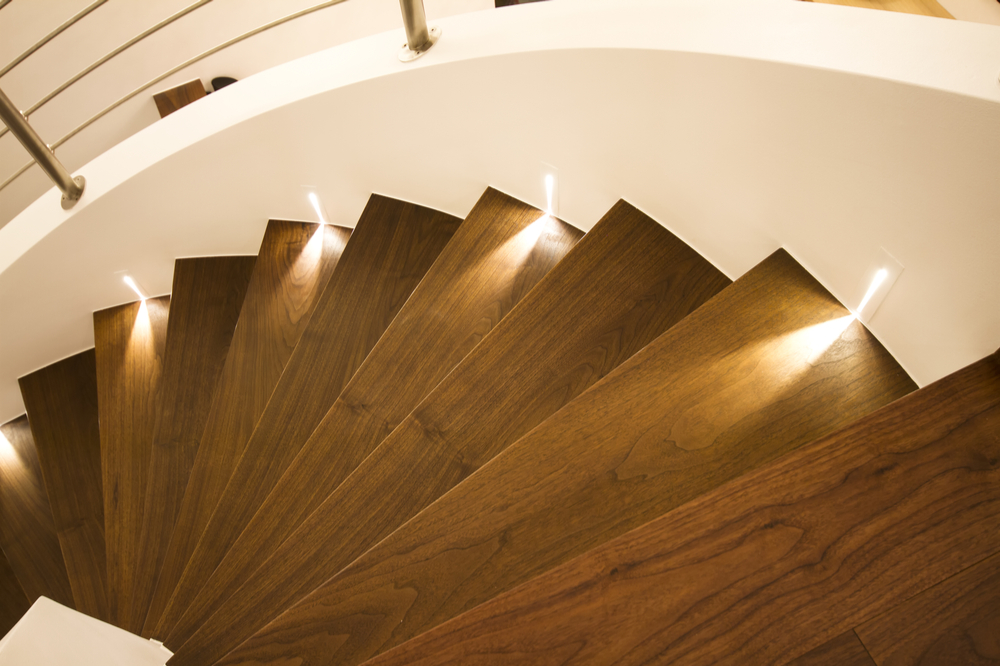
Wood tends to be more reflective, so prepare yourself for a little reflected shine on the steps. The good news is that you can use fewer lights or lower lumens to light wooden stairs.
Tile and similar materials, like marble, are the most reflective flooring materials out there. They reflect even more light than wood, so consider that as you plan the quantity and type of lights to install.
2. General Lighting
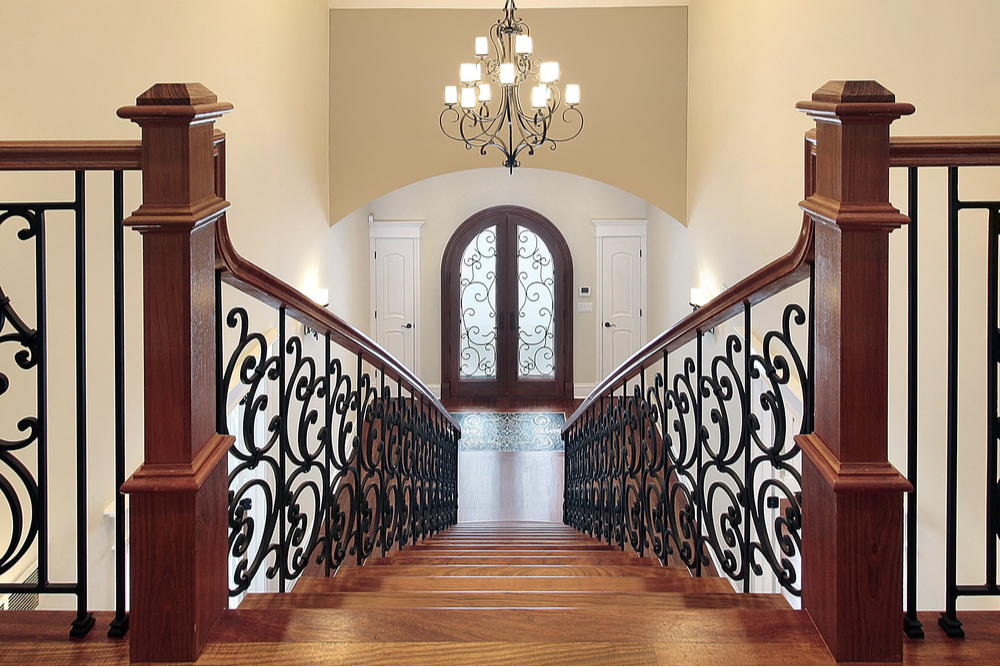
It’s important to note that step lighting is secondary to overhead, general lighting. The general lighting should be bright enough to light your stairs even without step lighting. Step lighting enhances the look of the stairs and adds an extra safety measure when other lights are off, but they’re not meant to provide the primary light for your stairs.
With that in mind, if your stairs are lacking light, start by switching your overhead or wall bulbs. Choose one with a high lumen count, or choose a new fixture with multiple bulbs. The options are endless!
3. Location
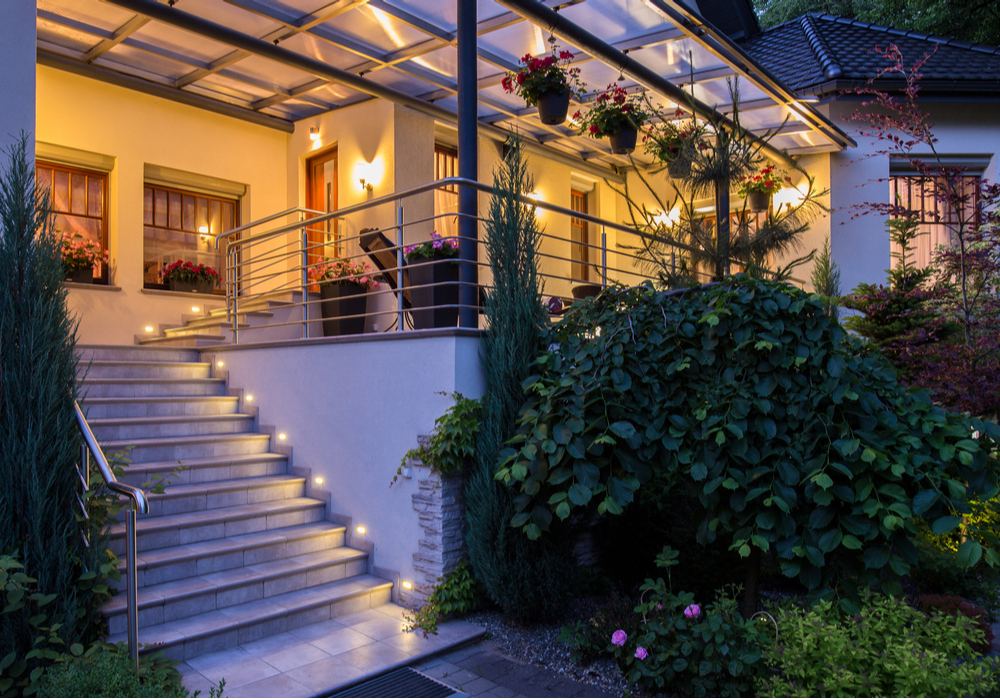
The above tips apply especially to indoor lighting, but there are extra considerations for your porch, deck, or other outdoor stairs. Exterior stairs are often made of concrete, Kool decking or wood, so it’s best not to rely on reflective light for outside.
Look for fixtures with high light output and weatherproof materials. For example, a brass cased fixture will hold up well in weather and withstand soccer balls, kicks, or other outside messes. You can also skip glass fixtures and use an all metal (typically die-cast aluminum) fixture to minimize damage to the fixture in this high-traffic area.
4. Installation
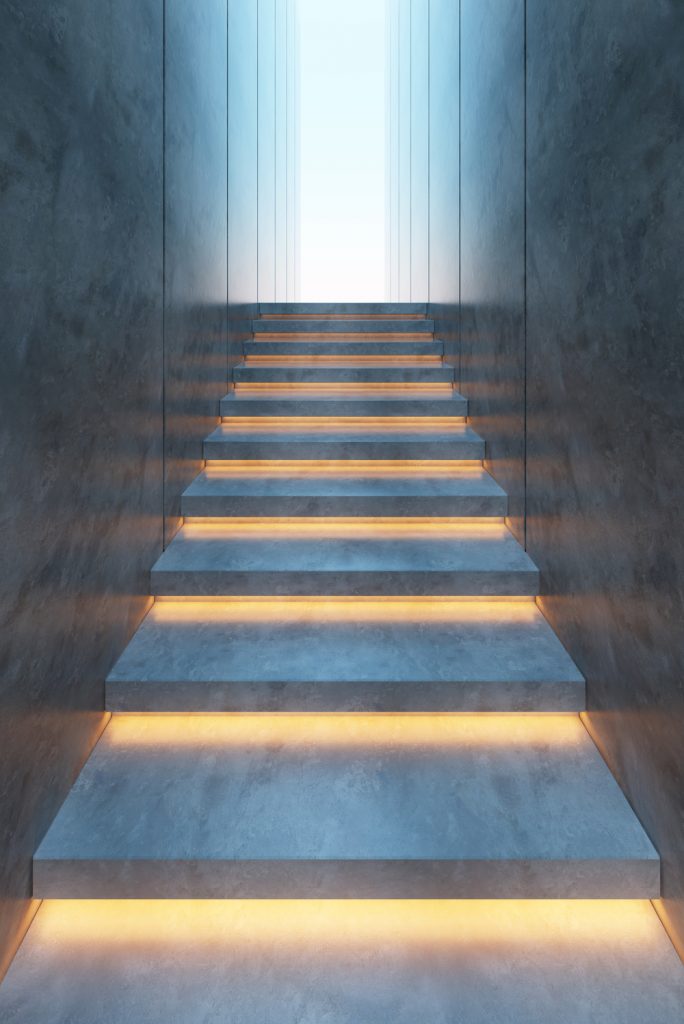
There are several different ways to install stair lighting. Some consumers prefer to have all fixtures on one side of the wall, while others enjoy a slim LED tape light underneath the lip of the riser, (you know, the vertical back of each step). In commercial settings, it’s common to place lights from the middle of the riser.
Step lights come in many different shapes and sizes, so the placement will vary based on your unique needs and the style of the fixture. If you want down light, use a louvered fixture. Solid panel lights shine out, which makes them very functional, but be careful—they aren’t as soft on your eyes.
As for placement, there isn’t a right or wrong distance for spacing your step lights. It’s typical to place a fixture on alternating steps, but lighting every step or every third step can be equally functional and fashionable. When using LED tape, however, it’s best practice to light the under side of each step.
With a little extra stair lighting, your staircase can be a pillar of style and class in your home, not to mention a safer place to walk. Add some architectural appeal by highlighting your stairs, and you’ll be stepping happily through your home.